What causes sink marks in injection molding, and how do you prevent them?
A sink mark is a small surface depression over a thick section, rib, or boss, caused by the inside cooling and shrinking after the surface has set. They're mostly a design issue — prevented by uniform wall thickness — with material and process as secondary levers. The cheapest time to prevent one is before the tool is cut.
Why a sink mark forms
Molten plastic cools from the outside in. The surface against the cold mold freezes into a solid skin first, while the thick core behind it stays molten and keeps shrinking as it cools. The machine's packing/holding pressure tries to feed extra material in to compensate for that shrink — but once the gate freezes off, no more can enter, and the still-shrinking core pulls the frozen skin inward, leaving a dimple. That's why sinks appear opposite ribs, bosses, and thick walls, and why a thicker rib base (more mass to shrink) makes the sink worse. A sink is the part telling you there's too much material behind that spot.
Diagnose it: sink vs. void vs. warp
- Sink — a surface dimple over a thick feature; it tracks a rib, boss, or thick wall on the other side.
- Void — an internal bubble (the core shrinks away from itself instead of pulling the surface); you won't see it on the surface, but it weakens the part.
- Warp — the whole part bends or twists from uneven cooling across the part, not a local dimple.
Read the pattern to find the cause: sinks that cluster far from the gate usually point to a packing or gate-freeze-off problem (the far end lost pressure first), while a sink in the same spot on every shot points to the design — too much mass there. That one observation tells your molder whether to chase the process or change the part. (See why molded parts warp for the warp case.)
One trade to know: pushing more holding pressure to close a sink can tip the part into flash or overpacking elsewhere — which is another reason the durable fix is design, not just cranking the press.
The design fixes (rules of thumb — confirm for your resin)
- Keep the nominal wall uniform — the single most effective prevention.
- Thin the ribs and bosses to roughly 40–60% of the wall they attach to (use the lower end for a cosmetic show surface; the exact ratio varies by resin), so they don't form a thick spot.
- Core out solid masses — hollow a thick section rather than leaving it solid.
- Use gussets instead of adding material to stiffen a feature.
- Keep wall transitions gradual, not stepped, so thickness changes don't concentrate shrinkage.
These are routine design adjustments, not redesigns, and they're exactly what a DFM review looks for before any steel is cut.
| Cause | Why it sinks | Fix |
|---|---|---|
| Thick section or boss behind the wall | A heavy core keeps shrinking after the skin has set, so it drags the show face inward | Core out the mass — hollow the section or boss instead of molding it solid |
| Rib too thick at its base | A full-thickness rib junction is extra mass that cools slowly and sinks the opposite face | Thin the rib to roughly 40–60% of the wall it attaches to (lower end for a show surface) |
| Insufficient packing or hold | Too little hold pressure or time stops feeding make-up material before the shrink is compensated | Add hold pressure and hold time, stopping before flash starts at the parting line |
| Gate too small or too far | A small or distant gate freezes early, so the thick area loses packing pressure first | Enlarge the gate or move it closer to the heavy section so it packs longer |
| Local cooling too fast or uneven | A hot spot behind a boss stays molten longest while the skin elsewhere has already frozen | Adjust cooling behind the feature so the thick spot freezes more evenly |
Material and process (the secondary levers)
Some resins shrink more than others — semi-crystalline materials (such as PP, nylon, POM) generally shrink more than amorphous ones (such as PC, ABS), so a thick section sinks more in a high-shrink material; glass fill generally reduces overall shrink but skews it along vs. across the flow. On the process side, more holding pressure, a gate relocation, or cooling changes can reduce a borderline sink, and a textured or matte finish hides a faint sink better than a high gloss. But process can only do so much: a part with a fundamentally thick section will sink in most materials, which is why design comes first.
When is a sink acceptable?
Not every sink is a defect. On a hidden or non-cosmetic surface, a faint sink may be perfectly fine. The problem is a sink on a show surface — so tell your manufacturer which faces are cosmetic, and the design can steer any unavoidable sink to a surface no one sees.
Process checks to run before anyone changes the steel
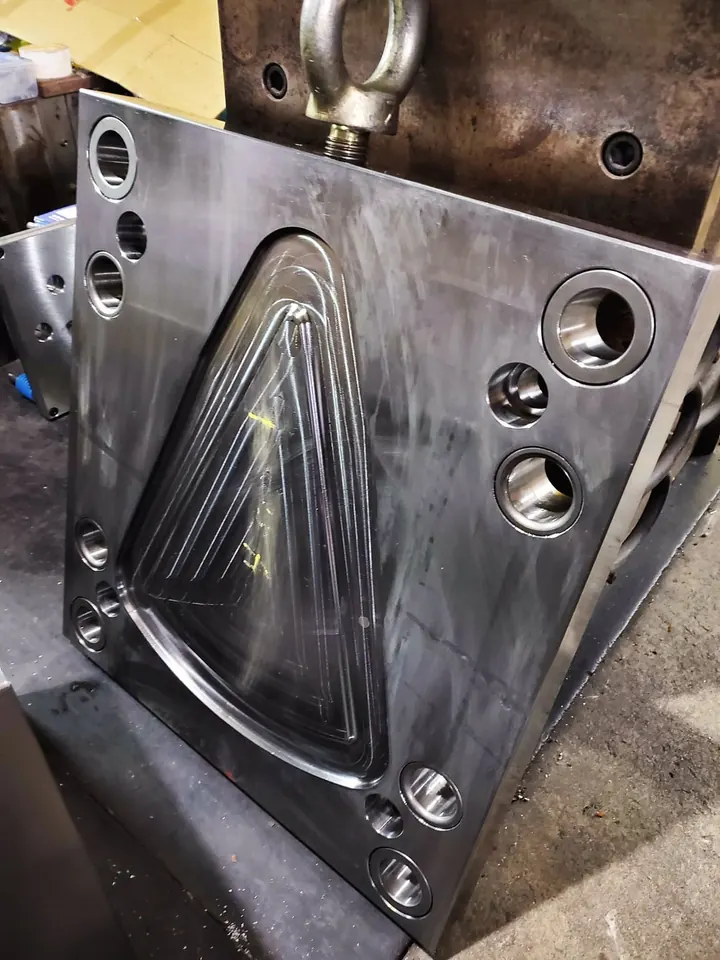
When sink shows up at the first trial, ask the molder to work through these in order and share the data.
- Confirm there is a cushion. If the screw bottoms out, hold pressure never reaches the part, whatever the setting says.
- Run a gate seal test. Weigh parts while stepping hold time up; where weight stops rising, the gate has frozen. Plastics Technology's gate-seal procedure also weighs the runner, since a runner that freezes first cuts packing short. If sink remains with the gate sealed, more hold time will not help.
- Then tune hold pressure, stopping before flash starts at the parting line.
- Measure mold temperature behind the sink. A hot spot behind a boss stays molten longest; readings on both halves show whether cooling there works.
- Look at the gate size. A gate thinner than the section it feeds freezes first (see gate types).
If all five check out, the cause is mass in the part.
Fixes once the tool exists, ranked by effort
| Fix | What it does | Effort on a finished tool |
|---|---|---|
| Texture the affected face | Masks a shallow sink where gloss is not required | Low, if the drawing allows the finish change |
| Enlarge or move the gate | Keeps the thick area packing longer | Moderate; a moved gate can also move weld lines |
| Add cooling behind the feature | Freezes the thick spot faster | Moderate to high, limited by space around existing lines and pins |
| Thin the rib or core out the boss | Removes the mass that causes the sink | High: the rib slot must get narrower, which takes a weld repair or a replacement insert |
| Switch to gas assist or structural foam | Pushes the thick section out from the inside | A process change with its own equipment needs |
The fourth row is why rib thickness belongs in DFM: thinning a rib after machining is the slow direction.
Writing a sink requirement your supplier can inspect against
- Label each face on the drawing by appearance class (show, occasionally seen, hidden) and state the inspection distance, lighting and angle.
- Where appearance is critical, add a maximum depth over a named feature, checked with a surface profile trace.
- Sign boundary samples at first article, so "acceptable" has a physical reference.
- Ask for a sink result in the flow study. Autodesk's Moldflow help notes its sink results show predicted location and depth but cannot tell a sink from a void, so treat them as a screen.
Sources for this section:
- Plastics Technology: Injection molding gate seal testing done right
- Autodesk Moldflow Adviser help: Sink marks estimate and sink marks shaded results
Common questions
What causes sink marks? A thick section's core cools and shrinks after the surface has set, pulling the surface inward — mostly a design issue of uneven wall thickness.
How do you prevent them? Mostly by design: uniform wall, ribs/bosses ~40–60% of the wall (rule of thumb), coring out mass, gussets, gradual transitions.
Where do sinks appear? On the surface directly opposite a rib, boss, or thick wall — a sink points to too much material behind it.
Does material matter? Yes, but it's secondary; high-shrink (semi-crystalline) resins sink more, yet uniform wall thickness is the real fix.
Can a sink be fixed after tooling? Partly, via pack/gate/cooling tuning, but a genuinely thick section needs a design change — cheaper before the tool is cut.
JCH Design & Manufacturing can review your part for sink risk and propose thinner ribs, coring, or gate changes before any steel is cut. Send your part and say which surfaces are cosmetic; NDA first.
Book a 30-minute callAsk JCH about sink marks
Seeing sink on a sample, or worried about a thick section in your design? Ask our AI assistant. It answers from this website, and our tooling team follows up if you want.
AI assistant. Answers can be wrong; nothing it says is a quote or a promise.